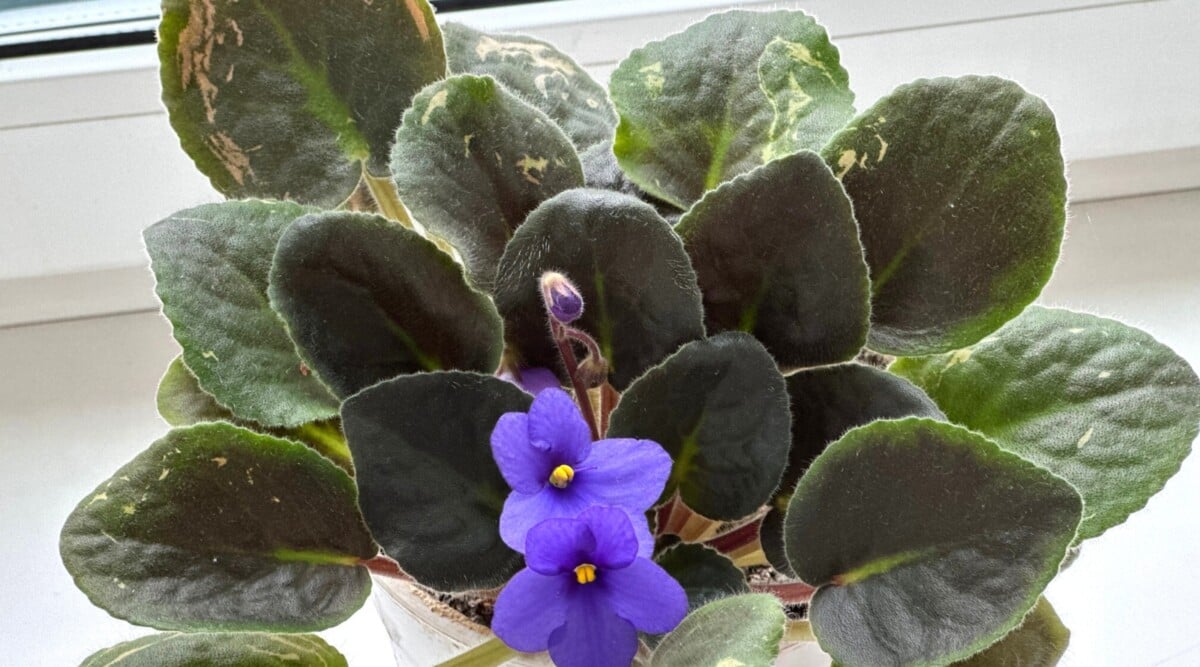
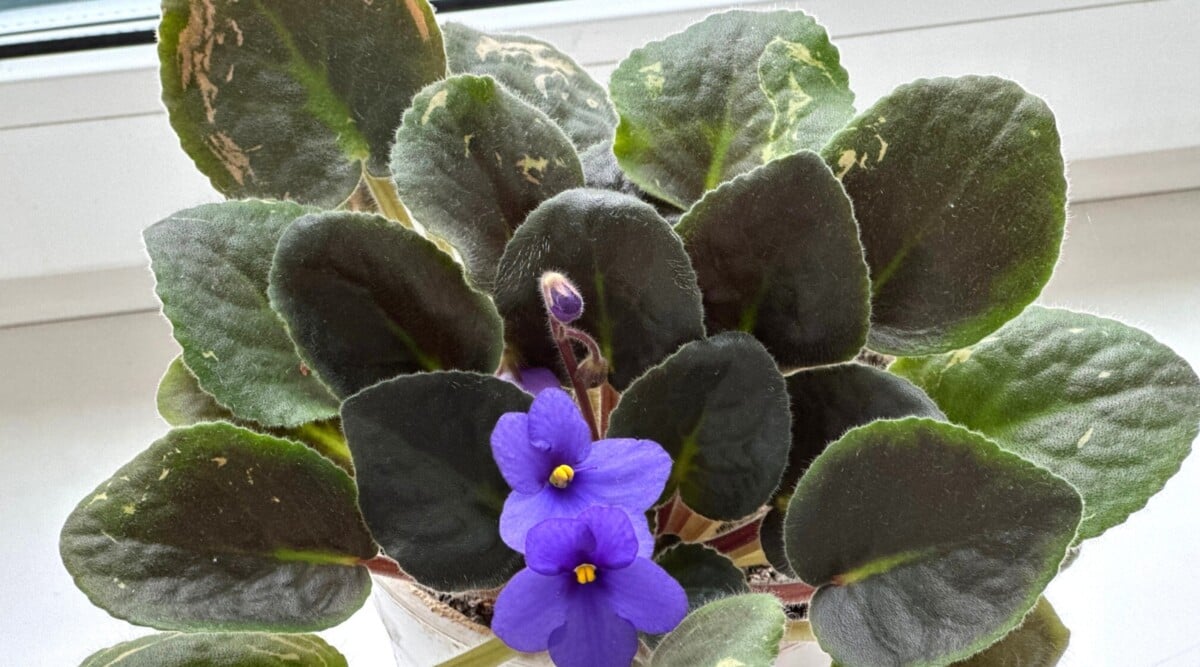
How to Multiply African Violets in 5 Simple Steps is a guide for gardeners of all levels, whether you’re a seasoned grower or just starting out. African violets, with their delicate blooms and velvety leaves, are beloved houseplants, and multiplying them allows you to enjoy even more of their beauty.
This step-by-step guide will take you through the process, from choosing the right method to caring for your new plants, ensuring success in your propagation journey.
The process of multiplying African violets is surprisingly straightforward. Whether you choose to propagate by leaf cuttings, stem cuttings, or division, the basic principles remain the same. This guide will cover each method, outlining the advantages and disadvantages of each to help you choose the one that best suits your needs and experience level.
Multiplying African Violets: How To Multiply African Violets In 5 Simple Steps
African violets are popular houseplants known for their beautiful, velvety flowers and ease of care. They come in a variety of colors, shapes, and sizes, making them a delightful addition to any home. Multiplying African violets allows you to enjoy even more of these lovely plants without having to purchase new ones.
Propagating African violets is a rewarding process that is surprisingly easy. This guide will walk you through the five simple steps to multiply your African violet collection.
Benefits of Multiplying African Violets
Multiplying African violets offers several benefits, including:
- Increased plant collection: Propagating African violets allows you to expand your collection without having to buy new plants, saving you money in the long run.
- Sharing with others: Sharing your propagated African violets with friends and family is a thoughtful gesture that allows them to enjoy these beautiful plants too.
- Preserving unique varieties: If you have a rare or unique African violet variety, multiplying it ensures that you can preserve this special plant.
- Experimentation: Propagating African violets allows you to experiment with different methods and techniques, potentially leading to new discoveries and a deeper understanding of these fascinating plants.
Five Simple Steps to Multiply African Violets
This section will guide you through the five simple steps to successfully multiply your African violets.
Step 1: Choosing the Right Method
Multiplying African violets is a rewarding experience that allows you to expand your collection and share your love for these beautiful plants. There are several methods for propagating African violets, each with its own advantages and disadvantages. Understanding these differences will help you choose the most suitable method for your needs and experience level.
Leaf Cuttings
Leaf cuttings are the most common and reliable method for multiplying African violets. They are relatively simple to take and have a high success rate. A single leaf can produce several new plants, making it an efficient method for expanding your collection.
- Advantages:
- High success rate
- Easy to take and maintain
- Produces multiple plants from a single leaf
- Can be done year-round
- Disadvantages:
- Can take longer to produce flowering plants compared to other methods
- Requires patience and attention to detail
Stem Cuttings
Stem cuttings involve taking a section of the stem with a leaf attached and rooting it in a suitable medium. This method is less common than leaf cuttings but can be a viable option for certain cultivars.
- Advantages:
- Produces plants that are genetically identical to the parent plant
- Can be used to propagate rare or difficult-to-root cultivars
- Disadvantages:
- Lower success rate compared to leaf cuttings
- Can be more challenging to root
- May not be suitable for all cultivars
Division
Division involves separating a mature African violet plant into multiple smaller plants. This method is best suited for plants that have grown large and overcrowded.
- Advantages:
- Quick and easy method for multiplying plants
- Produces plants that are already established and may flower sooner
- Disadvantages:
- Only suitable for mature, overcrowded plants
- Can be stressful for the parent plant
- May not be suitable for all cultivars
Recommended Method for Beginners, How to Multiply African Violets in 5 Simple Steps
Leaf cuttings are the most recommended method for beginners due to their high success rate, ease of propagation, and versatility. They are suitable for most African violet cultivars and require minimal effort and specialized equipment. Even with limited experience, you can successfully propagate African violets using leaf cuttings.
Step 2

Preparing cuttings is crucial for successful African violet propagation. You need to choose healthy leaves and stems and cut them properly to ensure the best chance of rooting.
Selecting Healthy Leaves and Stems
- Choose healthy leaves:Select leaves that are vibrant green, free from any signs of disease or pests, and have a healthy, firm texture. Avoid using leaves that are yellowing, wilting, or have brown spots.
- Choose healthy stems:If you are using stem cuttings, select stems that are firm and strong. They should be free from any signs of damage or disease. Avoid using stems that are thin, weak, or have brown spots.
Cutting the Leaves and Stems
- Use sharp, clean tools:Sharp, clean tools are essential for making clean cuts and preventing the spread of diseases. Use a sharp knife or a pair of sterilized scissors. Sterilize the tools before use by wiping them down with rubbing alcohol.
- Cut the leaves at the base:When cutting leaves, make a clean cut at the base of the leaf, just below the leaf petiole (the stalk that connects the leaf to the stem). Make sure the cut is clean and smooth, avoiding any ragged edges.
- Cut stems at an angle:If you are using stem cuttings, make a diagonal cut just below a leaf node (the point where a leaf grows from the stem). This provides a larger surface area for root growth.
Step 3
Now that you have your cuttings, it’s time to get them rooted. This step is crucial for the successful propagation of your African violets. The method you choose, whether water or soil, will influence the rooting process.
Rooting Cuttings in Water
Rooting cuttings in water is a simple and popular method. It allows you to observe root development and ensures that the cutting remains moist.
- Fill a clean glass or jar with fresh, filtered water. Avoid using tap water, as it can contain chlorine and other chemicals that may harm the cutting.
- Place the cutting in the water, ensuring that only the stem nodes are submerged. The nodes are the points on the stem where roots will emerge.
- Change the water every few days to prevent the growth of bacteria and algae.
- Once the roots are at least an inch long, usually within a few weeks, you can transfer the cutting to soil.
Rooting Cuttings in Soil
Rooting cuttings in soil is a more traditional method that mimics the natural environment of the plant. It provides a stable and supportive medium for root growth.
- Use a well-draining potting mix specifically formulated for African violets. These mixes typically contain peat moss, vermiculite, and perlite, which provide excellent aeration and drainage.
- Fill a small pot with the potting mix, leaving about an inch of space at the top.
- Make a small hole in the center of the pot and insert the cutting, ensuring that the stem nodes are covered with soil.
- Gently firm the soil around the cutting to secure it in place.
- Water the cutting thoroughly, making sure to keep the soil moist but not soggy.
- Place the pot in a warm, humid location, such as a greenhouse or a propagation dome. The ideal temperature for root development is around 70-75 degrees Fahrenheit.
Encouraging Root Growth
To encourage root growth, you can follow these tips:
- Use a rooting hormone powder or liquid. These products contain auxins, which are plant hormones that stimulate root development.
- Maintain a consistently warm and humid environment. You can use a propagation dome or plastic wrap to create a humid environment.
- Avoid overwatering. Overwatering can lead to root rot and hinder root development.
- Provide indirect sunlight or artificial light. African violets thrive in bright, indirect light.
Step 4: Planting the New Plants

Now that your African violet cuttings have developed roots, it’s time to plant them in their own individual pots. This step is crucial for their growth and development, ensuring they have ample space and the right environment to thrive.
Potting the Rooted Cuttings
Planting rooted cuttings in individual pots provides them with the necessary space and resources to establish themselves as independent plants. This process is relatively simple and requires a few key steps:
- Choose the Right Pot Size:Start with small pots, typically 2-3 inches in diameter, as African violets prefer to be slightly root-bound. This encourages faster flowering.
- Prepare the Potting Mix:Use a well-draining potting mix specifically formulated for African violets. These mixes typically contain a blend of peat moss, perlite, and vermiculite, which provide optimal drainage and aeration for the roots.
- Plant the Cutting:Gently remove the rooted cutting from its rooting medium. Place it in the center of the pot, ensuring the root ball is level with the rim.
- Backfill with Potting Mix:Fill the pot around the root ball with the potting mix, leaving about half an inch of space at the top. Gently press the mix around the cutting to secure it in place.
- Water Thoroughly:After planting, water the new plant thoroughly to settle the potting mix and encourage root growth.
Step 5: Maintaining the New Plants
Once your African violet cuttings or leaf pups have rooted and developed new leaves, it’s time to transition them to their new home. Maintaining the ideal conditions for these delicate plants is crucial for their continued growth and blooming.
Providing Adequate Light, Water, and Humidity
African violets thrive in bright, indirect light. Direct sunlight can scorch their leaves, so it’s important to place them in a location that receives filtered light, such as near a window with a sheer curtain. Water your African violets when the top inch of soil feels dry to the touch, using lukewarm water.
Avoid overwatering, as this can lead to root rot. To increase humidity, you can place the pots on a tray filled with pebbles and water, or mist the leaves regularly.
Fertilizing the Plants
Fertilizing is essential for healthy growth and abundant blooms. Use a balanced, water-soluble fertilizer specifically formulated for African violets. Dilute the fertilizer to half strength and apply it every two to four weeks during the growing season (spring and summer).
Avoid fertilizing during the winter months when the plants are dormant.
Preventing Pests and Diseases
African violets are susceptible to a few common pests and diseases. Regularly inspect your plants for signs of pests, such as aphids, mealybugs, or spider mites. If you find any pests, treat them promptly with insecticidal soap or neem oil.
To prevent diseases, ensure proper watering and ventilation, and avoid overcrowding the plants.
Closing Notes
Multiplying African violets is a rewarding experience, allowing you to share your love of these beautiful plants with others or simply expand your own collection. By following these five simple steps, you can confidently propagate your African violets and enjoy their beauty for years to come.
Remember, patience and consistent care are key to success. So, gather your supplies, choose your method, and embark on your propagation journey. The vibrant blooms of your new African violets will be a testament to your efforts.
Answers to Common Questions
How often should I water my new African violet plants?
Water your new African violet plants when the top inch of soil feels dry to the touch. Avoid overwatering, as this can lead to root rot.
What type of light do African violets need?
African violets thrive in bright, indirect light. Avoid direct sunlight, which can scorch their leaves.
What are the signs of an unhealthy African violet?
Signs of an unhealthy African violet include yellowing leaves, wilting, brown spots, and stunted growth. Address these issues promptly to prevent further damage.
